
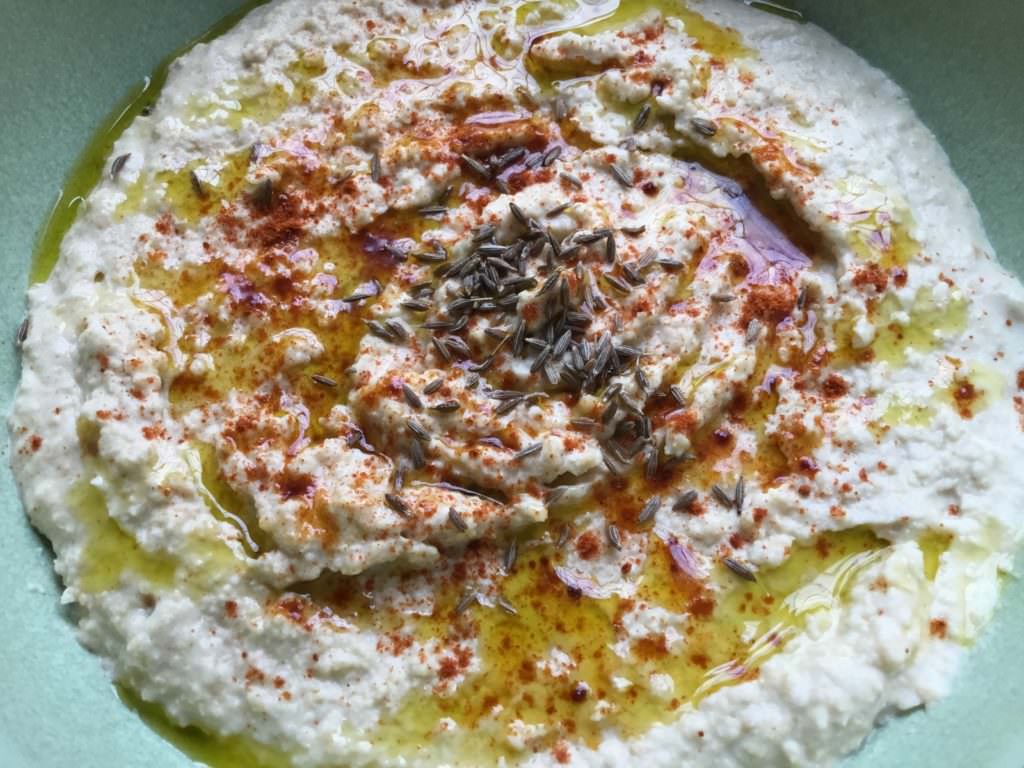
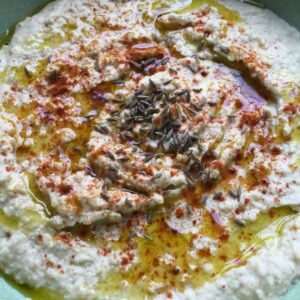
I’m often surprised that people think hummus is difficult to make. Making your own homemade hummus couldn’t be easier and the result is a nutritious dip that’s much cheaper and far tastier than shop-bought varieties. You’ll need a food processor but then it’s simply a case of adding the ingredients and 2 minutes later, you’ll have a delicious, nutritious dip; that’s my idea of “convenience food”! There’s so much scope with flavours and here I’ve used cumin and garlic for a truly authentic middle eastern version.
Serving it with healthy vegetable cruditées elevates this simple dip to an even more nutritious level and you’ll find yourself reaching the recommended 7-a-day in no time.
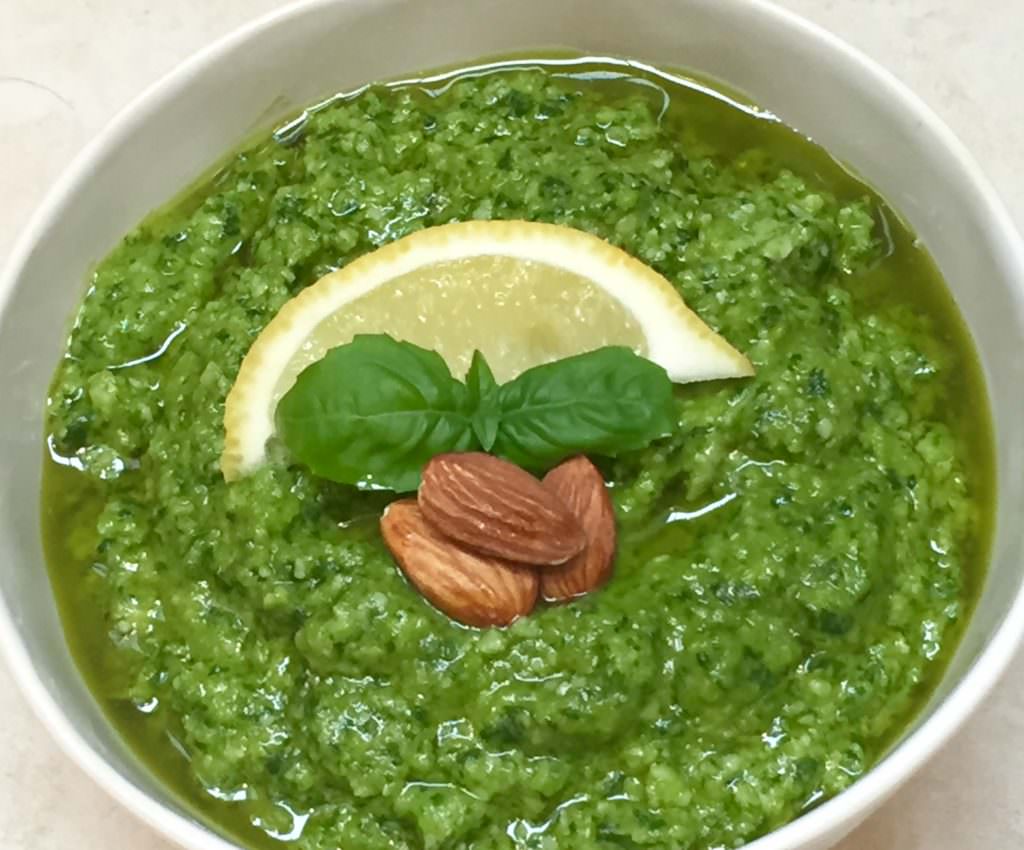
Making homemade hummus….
- 400g can chickpeas
- 2 tablespoons tahini
- Juice from a whole lemon
- 1 small clove garlic, crushed
- 1/2 teaspoon cumin powder
- 1 tbsp natural yoghurt (V optional)
- Sea Salt/Ground Pepper to taste
Variations; add before blending
-
- 1 teaspoon smoked paprika (optional)
- 30g flat-leaf parsley, finely chopped
- Chilli flakes (pinch)
Here’s how to make your hummus….
Rinse the chickpeas well and drain.
*** Now, I like to heat my chickpeas very slightly (in a pan or directly in my Thermomix 1min|50 degrees|speed 1) before adding the rest of the ingredients; it helps the flavours to infuse. But you absolutely don’t need to do this and if it means you’re less likely to make your own, please ignore this! ***
Combine the chickpeas, tahini, garlic, cumin, salt and half the lemon juice in a food processor and blend to a creamy consistency. If using yoghurt you will probably not need water but otherwise, add water, a little at a time to the desired consistency.
Taste and season according to preferences; add more lemon or salt if necessary. These both bring out the flavour of the hummus so season generously, especially with lemon juice.
Serve with a sprinkle of paprika or za’atar and drizzled with olive oil.
Tips
- Warming the chickpeas before using helps to infuse the flavours
- Use water, added a little at a time, to achieve the desired consistency (if not using yoghurt)
- You can use canned or home-cooked from dried chickpeas for this recipe. (See note below) If using canned, ensure they are well rinsed to remove any phytates in the water, which may cause digestive discomfort
- This hummus will keep for around a week in the fridge
- Make a double batch and freeze half for a nutritious snack for the family when you’re pressed for time or have guests arriving
Nutritional Nugget
Phytic Acid is an “antinutrient” that can interfere with the absorption of minerals when it reaches the digestive tract. If you’re using dried beans, be sure to soak them for at least 12 hours and change the water several times during soaking to remove the Phytic acid that may have leached into this water, before using. Do not use the soaking water. Using canned beans is easy and convenient and as they are already soaked, will not contain as much Phytic acid. However, rinsing well before use will remove any traces that may have leached into the soaked water. For more information, CLICK HERE
Ready to print recipe:
Spicy Homemade Cumin & Garlic Hummus
Ingredients
Making homemade hummus….
- 400 g can Chickpeas rinsed and drained
- 2 tablespoons Tahini heaped
- Juice from a whole lemon
- 1 small clove Garlic crushed
- 1/2 teaspoon Cumin powder
- Sea Salt/Ground Pepper to taste
Variations; add before blending
- 1 teaspoon Paprika optional
- 30 g flat-leaf Parsley finely chopped
- 2-3 pinches chilli flakes
Instructions
- Rinse the chickpeas well and drain.
- Combine the chickpeas, tahini, garlic, cumin, salt and half the lemon juice in a food processor and blend to a creamy consistency. Add warm/tepid water, a little at a time to the desired consistency.
- Taste and season according to preferences; adding more lemon or salt to bring out the flavour.
Notes
- Warming the chickpeas before using helps to infuse the flavours. Otherwise use a little warm, rather than cold, water to achieve the desired consistency.
- You can use canned or home-cooked from dried chickpeas for this recipe. (See note below) If using canned, ensure they are well rinsed to remove any phytates in the water, which may cause digestive discomfort
- This hummus will keep for around a week in the fridge
- Make a double batch and freeze half for a nutritious snack for the family when you’re pressed for time or have guests arriving
Ultimate Healthy Snack Guide
Why is it that sometimes Snacks can get the better of us? Find our why in this ultimate guide, which explains the science behind why we snack and how we can choose our snacks more carefully. There are 9 interesting and of course healthy full recipes which are ideal for the whole family and also as part of a weight management programme. DOWNLOAD HERE

Want to get started with Intermittent Fasting?
Check out my comprehensive beginner’s guide to get you going.


3 Comments